What to Do When Your E-Scooter Brakes Fail: A Complete Safety Guide
Electric scooters have transformed how people move through American cities. From daily commutes across busy metropolitan streets to quick trips down quiet suburban avenues, these lightweight vehicles offer an efficient, eco-friendly way to bypass traffic jams and public transit delays. However, as speeds increase and micro-mobility vehicles become standard fixtures on public roads, safety risks become far more consequential.
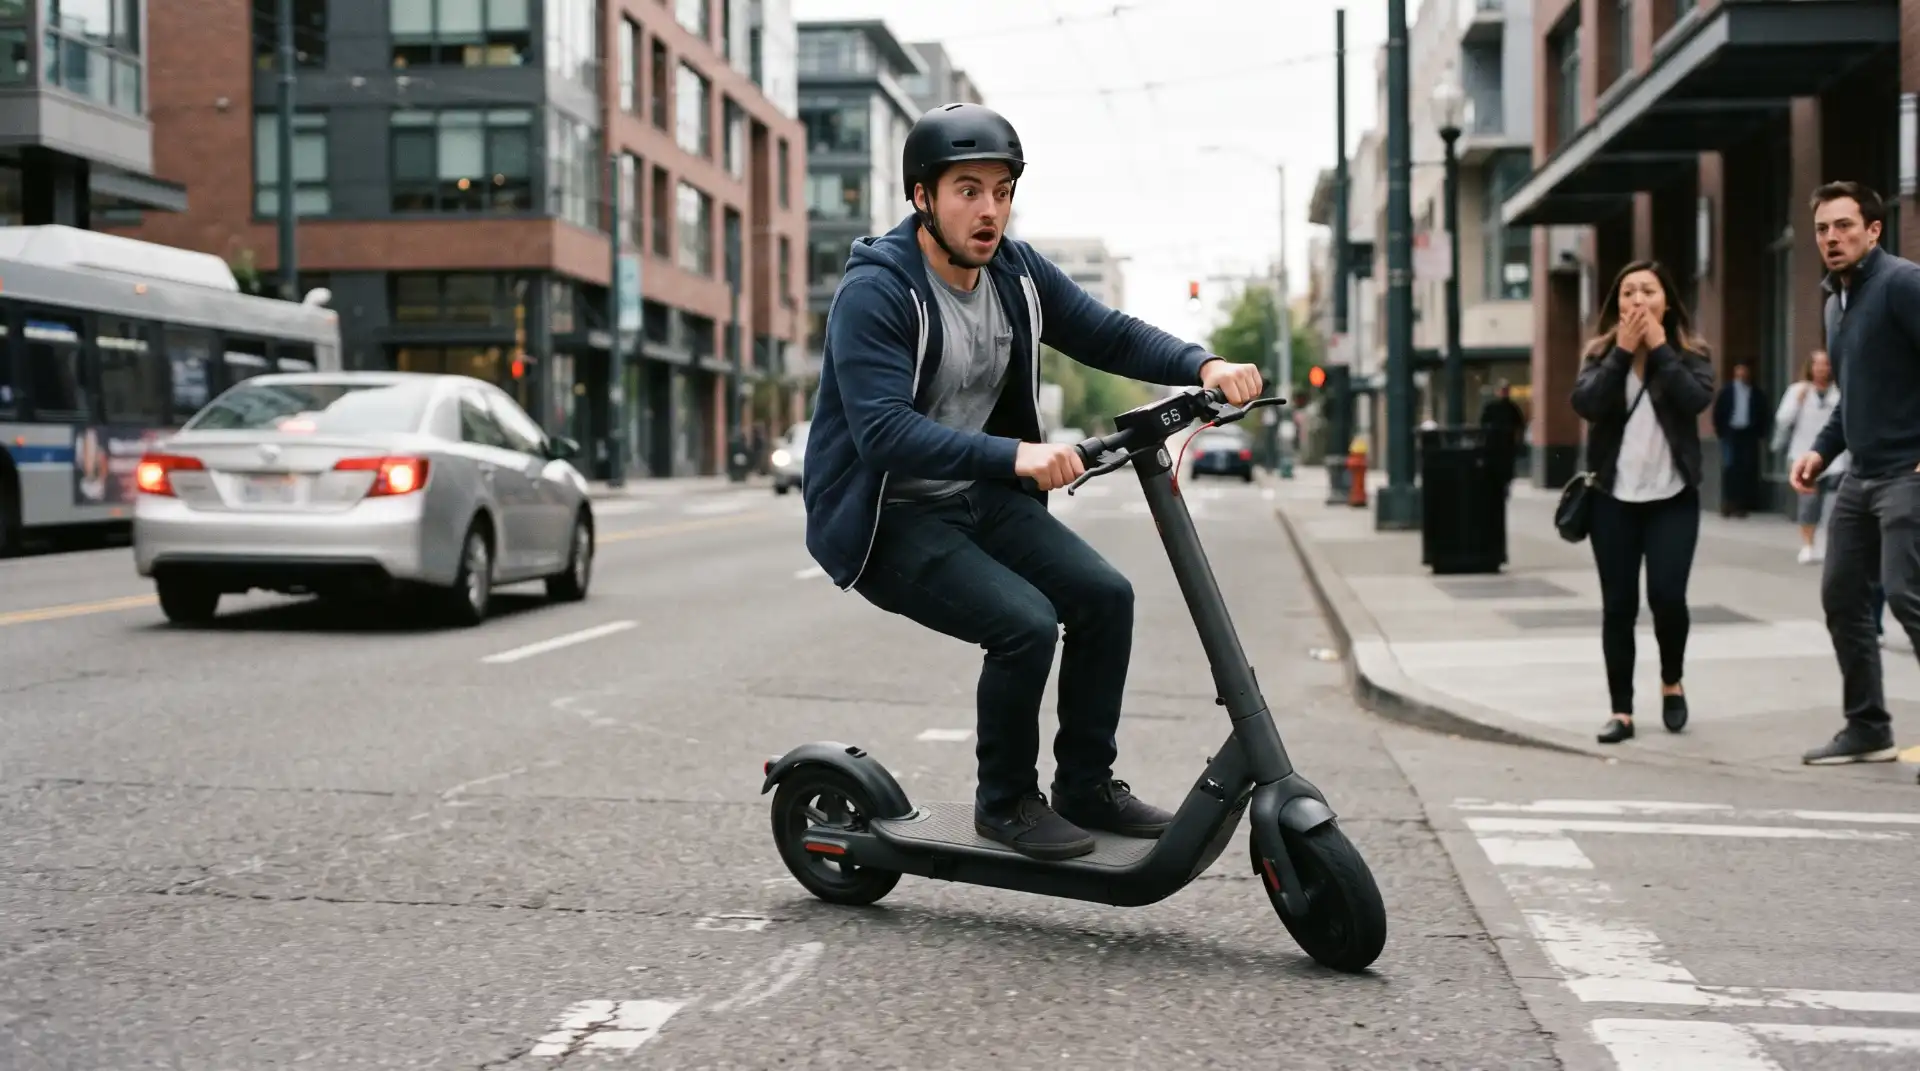
Among the various technical issues a rider might encounter, e-scooter brake failure is arguably the most frightening. Imagine cruising downhill at twenty miles per hour toward a busy intersection, pulling the brake lever, and feeling absolutely no resistance—or feeling resistance while the scooter continues rolling forward at full speed.
Understanding how your e-scooter brakes function, recognizing early signs of system wear, mastering emergency deceleration maneuvers, and executing routine maintenance will dramatically reduce your risk on the road. This guide breaks down the physics of e-scooter braking, the mechanical and electronic reasons behind sudden failure, step-by-step actions for surviving a brake loss scenario, and long-term habits to keep your braking system reliable.
Understanding the Architecture of E-Scooter Braking Systems
To handle a brake failure effectively, you first need to understand the mechanical and electronic systems slowing you down. Unlike standard bicycles, which rely almost exclusively on simple mechanical leverage, electric scooters combine physical friction with digital power regulation.
Mechanical Disc Brakes
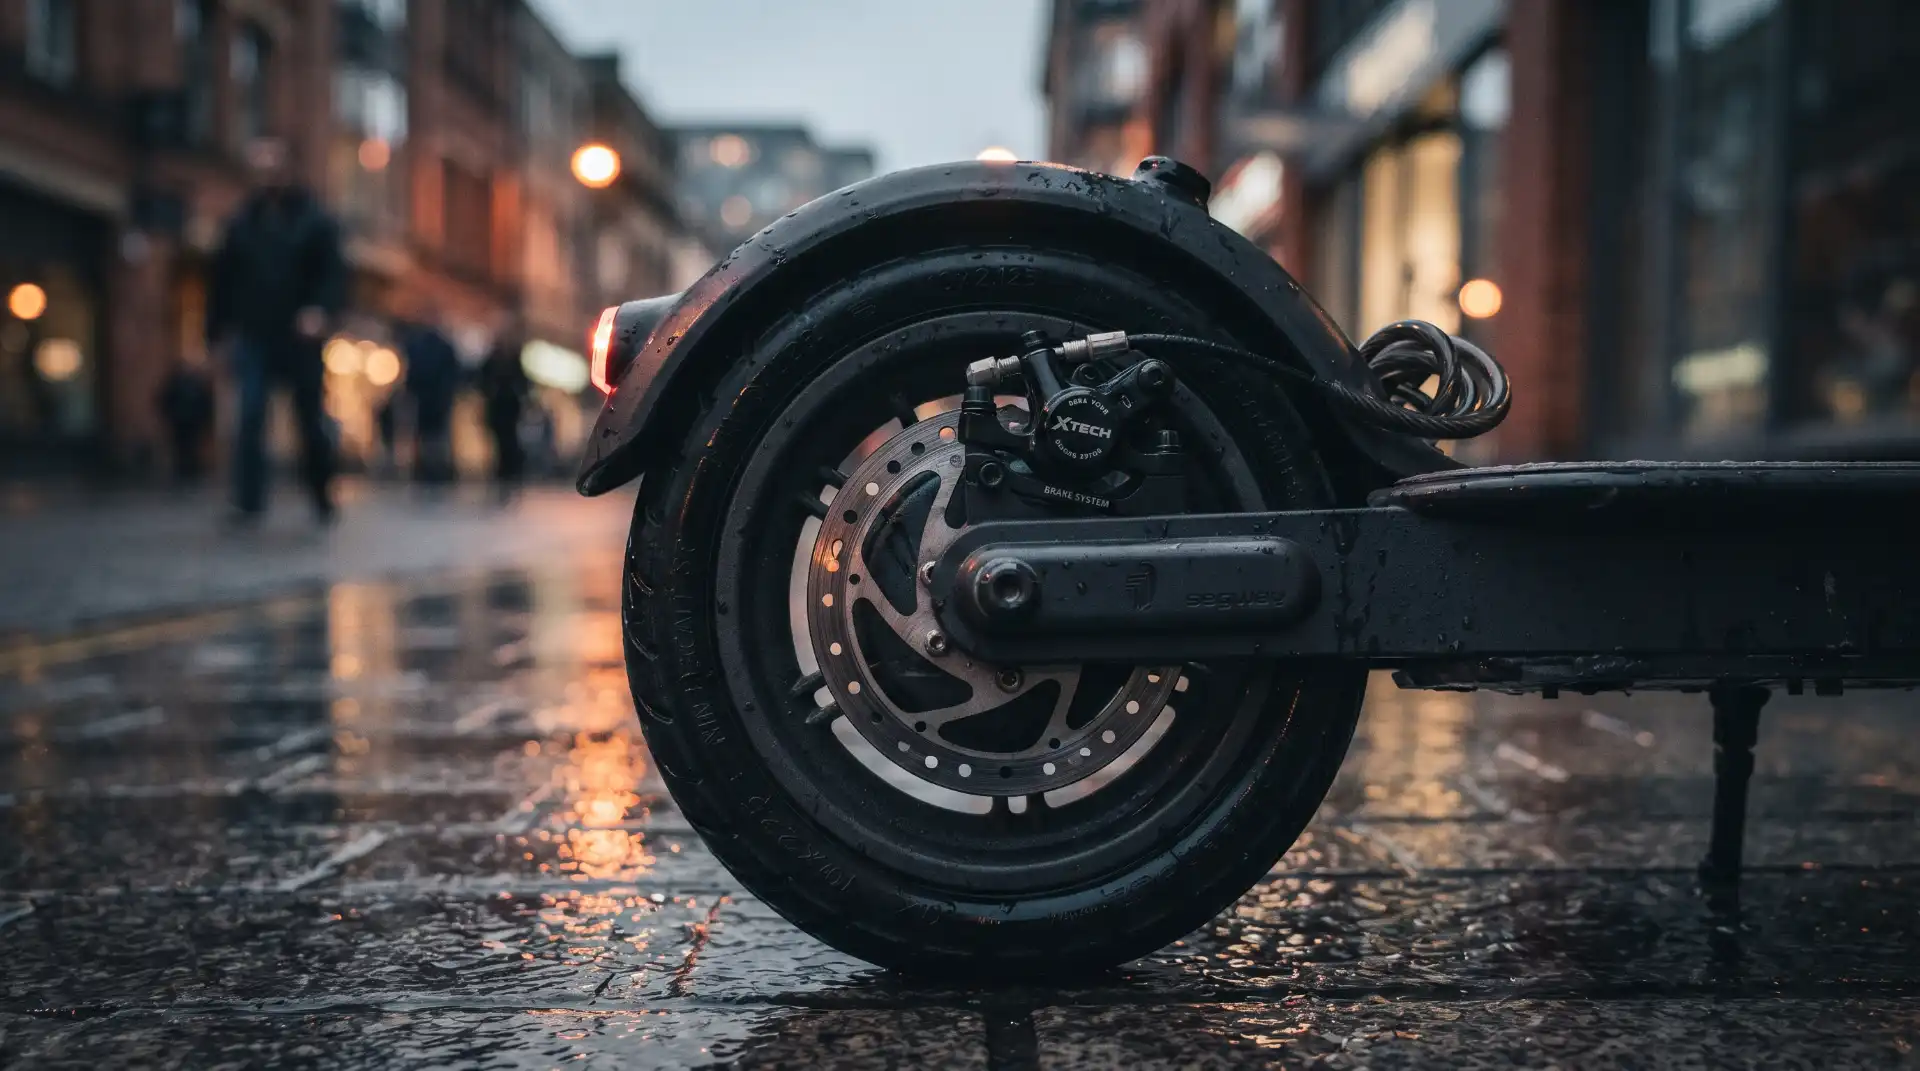
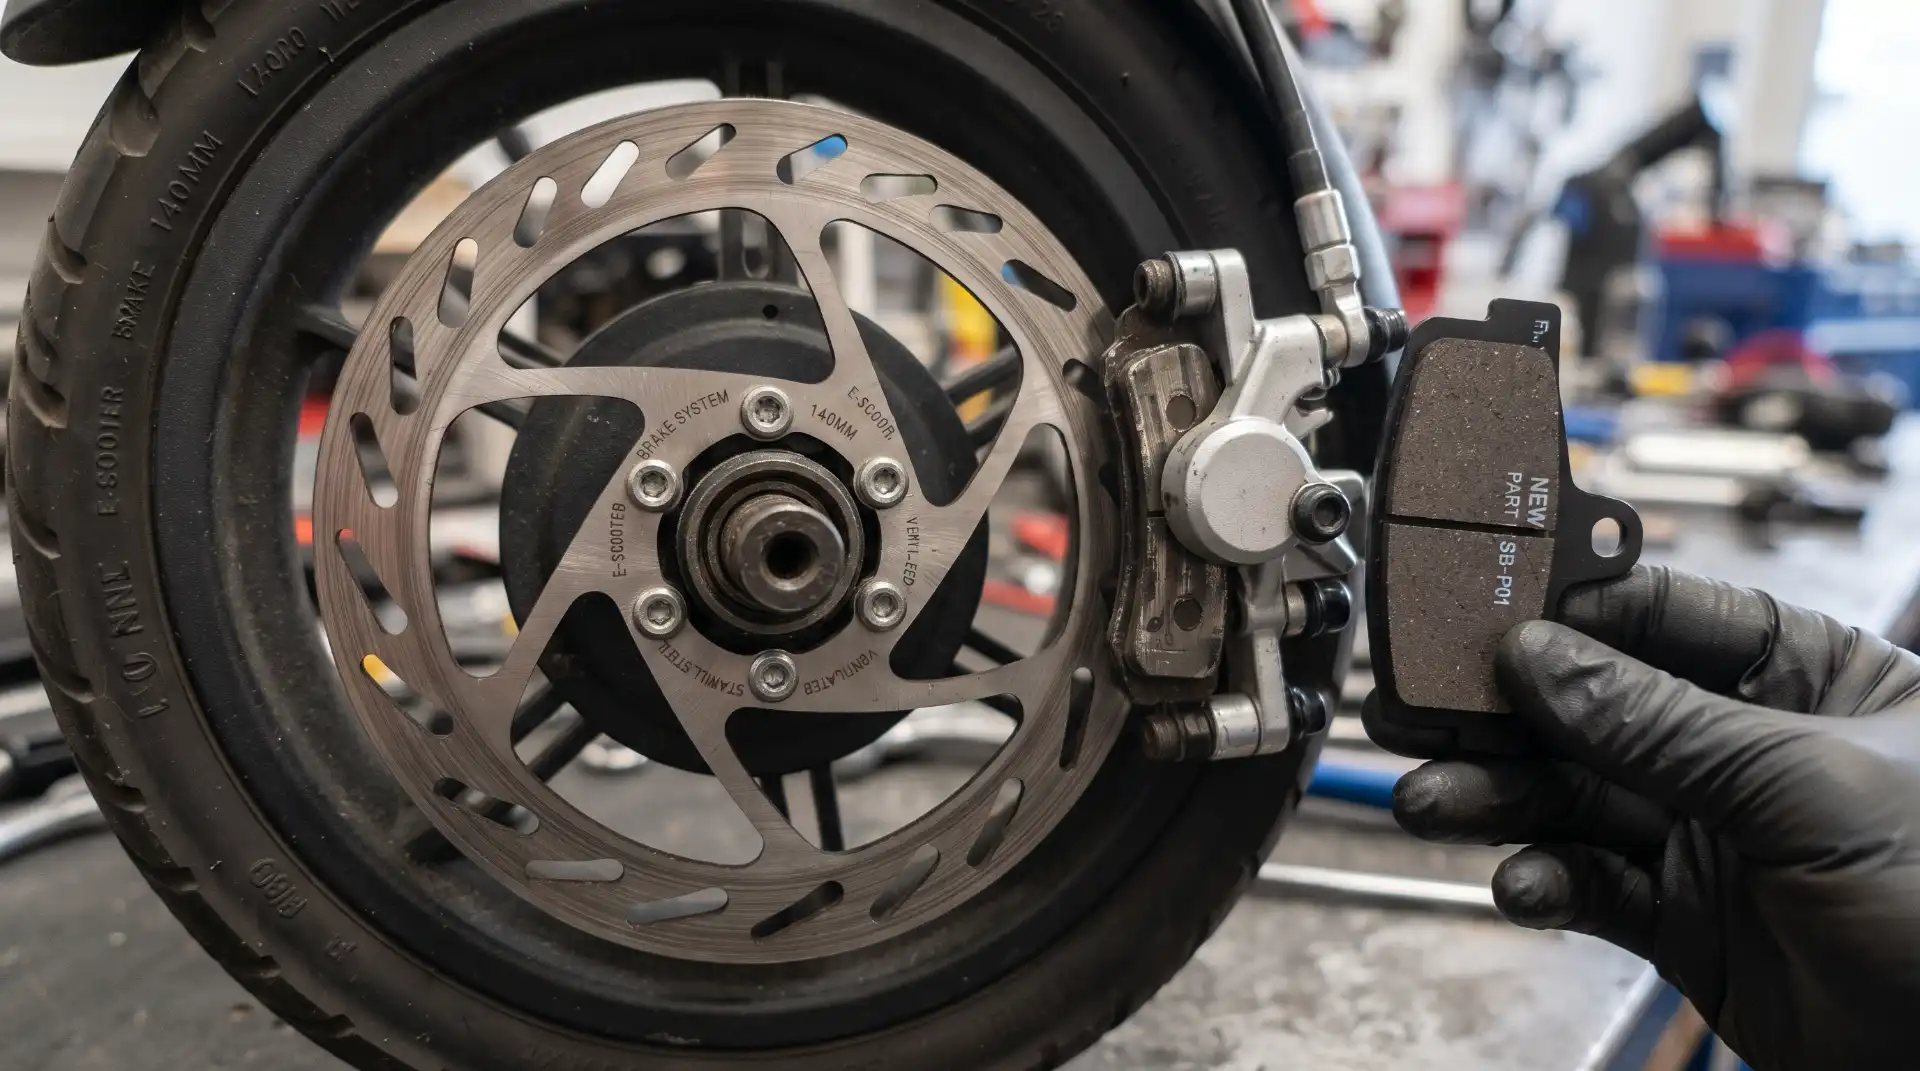
Mechanical disc brakes remain the most common stopping system on mid-tier electric scooters. This system uses a steel braided cable running from the handlebar lever down to a caliper mounted near the wheel hub. When you squeeze the lever, it pulls the cable, pushing two friction pads against a metallic rotor attached to the wheel. Disc brakes offer exceptional stopping power in dry conditions, but they require regular manual adjustment as the brake pads gradually wear down from friction.
Hydraulic Disc Brakes
Featured mostly on high-performance and dual-motor electric scooters, hydraulic systems replace the physical inner steel cable with closed fluid lines filled with mineral oil or synthetic fluid. Squeezing the lever compresses a master cylinder, forcing hydraulic fluid down to the caliper pistons to clamp the pads against the rotor. Hydraulic brakes provide superior stopping leverage with minimal hand effort, self-adjust as pads wear, and deliver a smooth, precise feel. However, an unaddressed fluid leak can lead to a total loss of stopping power without warning.
Electronic and Regenerative Brakes
Modern electric scooters rely heavily on electronic braking, often referred to as regenerative braking (E-ABS). Instead of using friction against a wheel rotor, electronic braking signals the scooter controller to reverse the magnetic fields inside the hub motor. This process generates counter-torque that slows the motor while routing a small amount of kinetic energy back into the battery. Electronic braking reduces mechanical pad wear, but it depends entirely on battery charge levels and functioning electrical circuits.
Drum Brakes and Foot Brakes
Drum brakes enclose the brake shoes and pads inside a sealed wheel hub, protecting them from rain, road salt, and mud. While highly durable and low-maintenance, they dissipate heat slowly during prolonged downhill rides and offer slightly less immediate stopping force than disc systems. Auxiliary foot brakes—where the rider steps down on the rear fender to press it physically against the tire—serve as a rudimentary, purely mechanical backup system on smaller commuter models.
Root Causes Behind E-Scooter Brake Failure
Brake failures rarely happen out of nowhere. They are usually the result of gradual wear, neglected maintenance, environmental damage, or sudden electronic glitches. Identifying these root causes allows riders to address minor issues before they turn into dangerous situations.
Cable Slack and Mechanical Stretch
On cable-actuated mechanical systems, steel cables naturally stretch under constant tension over time. As the inner cable lengthens, squeezing the brake lever produces less travel at the caliper end. Eventually, the lever pulls all the way back against the handlebar grip without pressing the brake pads hard enough against the rotor to slow the wheel.
Brake Pad Depletion and Heat Glazing
Every time you slow down, small amounts of material rub off your brake pads. If you ignore regular inspections, the friction material wears away entirely, leaving bare metal pressing against the steel rotor. This drastically reduces stopping force and damages the rotor. Additionally, riding the brakes continuously while descending steep hills creates intense heat. This heat can glaze the pads, crystallizing their outer layer into a slick glass-like surface that slides harmlessly over the rotor without gripping it.
Contamination of Rotors and Pads
Riding through oil slicked puddles, road debris, or spraying silicone lubricants too close to the wheel hubs deposits thin films of grease onto the brake rotors. Contaminated braking surfaces lose up to eighty percent of their friction capacity. The result is a spongy, sliding sensation accompanied by a loud, high-pitched squeal when you attempt to stop.
Hydraulic Line Breaches and Air Bubbles
Hydraulic brake systems depend on an airtight, fluid-filled environment. A loose fitting, cracked hose, or worn piston seal allows hydraulic fluid to leak out, resulting in a sudden drop in fluid pressure. Furthermore, if air bubbles enter the hydraulic line, the air compresses when you pull the lever instead of transferring force to the brake pads. This causes the lever to feel dangerously soft and spongy.
Controller Failure and Overcharge Cutoff
Electronic and regenerative brakes rely on complex electronic circuitry. If the central motor controller overheats, suffers water damage, or experiences a wiring fault, electronic braking can cut out instantly.
A lesser-known hazard involves riding a fully charged electric scooter down a steep hill right after unplugging it. Because regenerative braking sends electricity back into the battery, an intelligent Battery Management System (BMS) may shut off the electronic brake to prevent overcharging and damaging the battery cells.
Emergency Response: How to Stop When Brakes Fail
Experiencing a sudden brake failure while traveling at top speed is an adrenaline-pumping emergency. Panicking, freezing up, or jumping off the vehicle blindly often leads to severe injuries. Staying calm and using proper physical maneuvers will help you regain control and slow down safely.
1. Keep Calm and Assess the Lever Resistance
The instant you realize your primary brake lever isn’t slowing you down, check whether you have a secondary brake. Many electric scooters feature dual levers—one for the front wheel and one for the rear wheel—or a secondary electronic thumb switch. If your primary brake cable snaps or fails, immediately engage the secondary brake with steady, controlled pressure. Avoid slamming the remaining brake, as locking up a single wheel can throw you off balance.
2. Adjust Your Body Position Low and Back
Your body weight is the most powerful tool you have for controlling momentum in an emergency. Shift your feet into a wide stance, bend your knees, and push your hips back over the rear tire as low as possible. Dropping your center of gravity provides two vital advantages:
-
It counters the forward inertia that threatens to pitch you over the handlebars.
-
It increases downforce on the rear wheel, giving your remaining tires better traction against the pavement.
3. Utilize Wind Resistance intentionally
When riding upright at higher speeds, your torso acts like a sail against oncoming air. Stand up out of your crouch briefly—while maintaining a strong, firm grip on the handlebars with both hands—and open your chest to the wind. Air resistance alone can shed several miles per hour from your speed, giving you more space and time to execute an emergency stop.
4. Execute Controlled Foot-Braking (Friction Drag)
If mechanical and electronic systems fail completely, you must use external friction to bring the scooter to a stop. Drop your non-dominant foot off the deck and drag the sole of your shoe along the asphalt alongside the scooter.
Do not jam your foot down flat or plant it in front of you, as this will catch your heel and pitch you off the deck. Instead, keep your foot slightly behind your body line and apply steady, increasing downward pressure with the sole of your shoe.
5. Look for Safe Run-Out Zones
If you are approaching a dangerous intersection, a red light, or oncoming traffic without working brakes, immediately scan your surroundings for a safe exit path. Look for open grassy shoulders, packed dirt paths, or uphill inclines. Steering off the hard pavement onto a soft patch of grass or dirt increases rolling resistance, safely absorbing kinetic energy without throwing you onto concrete.
6. Controlled Dismounts and Low-Impact Collisions
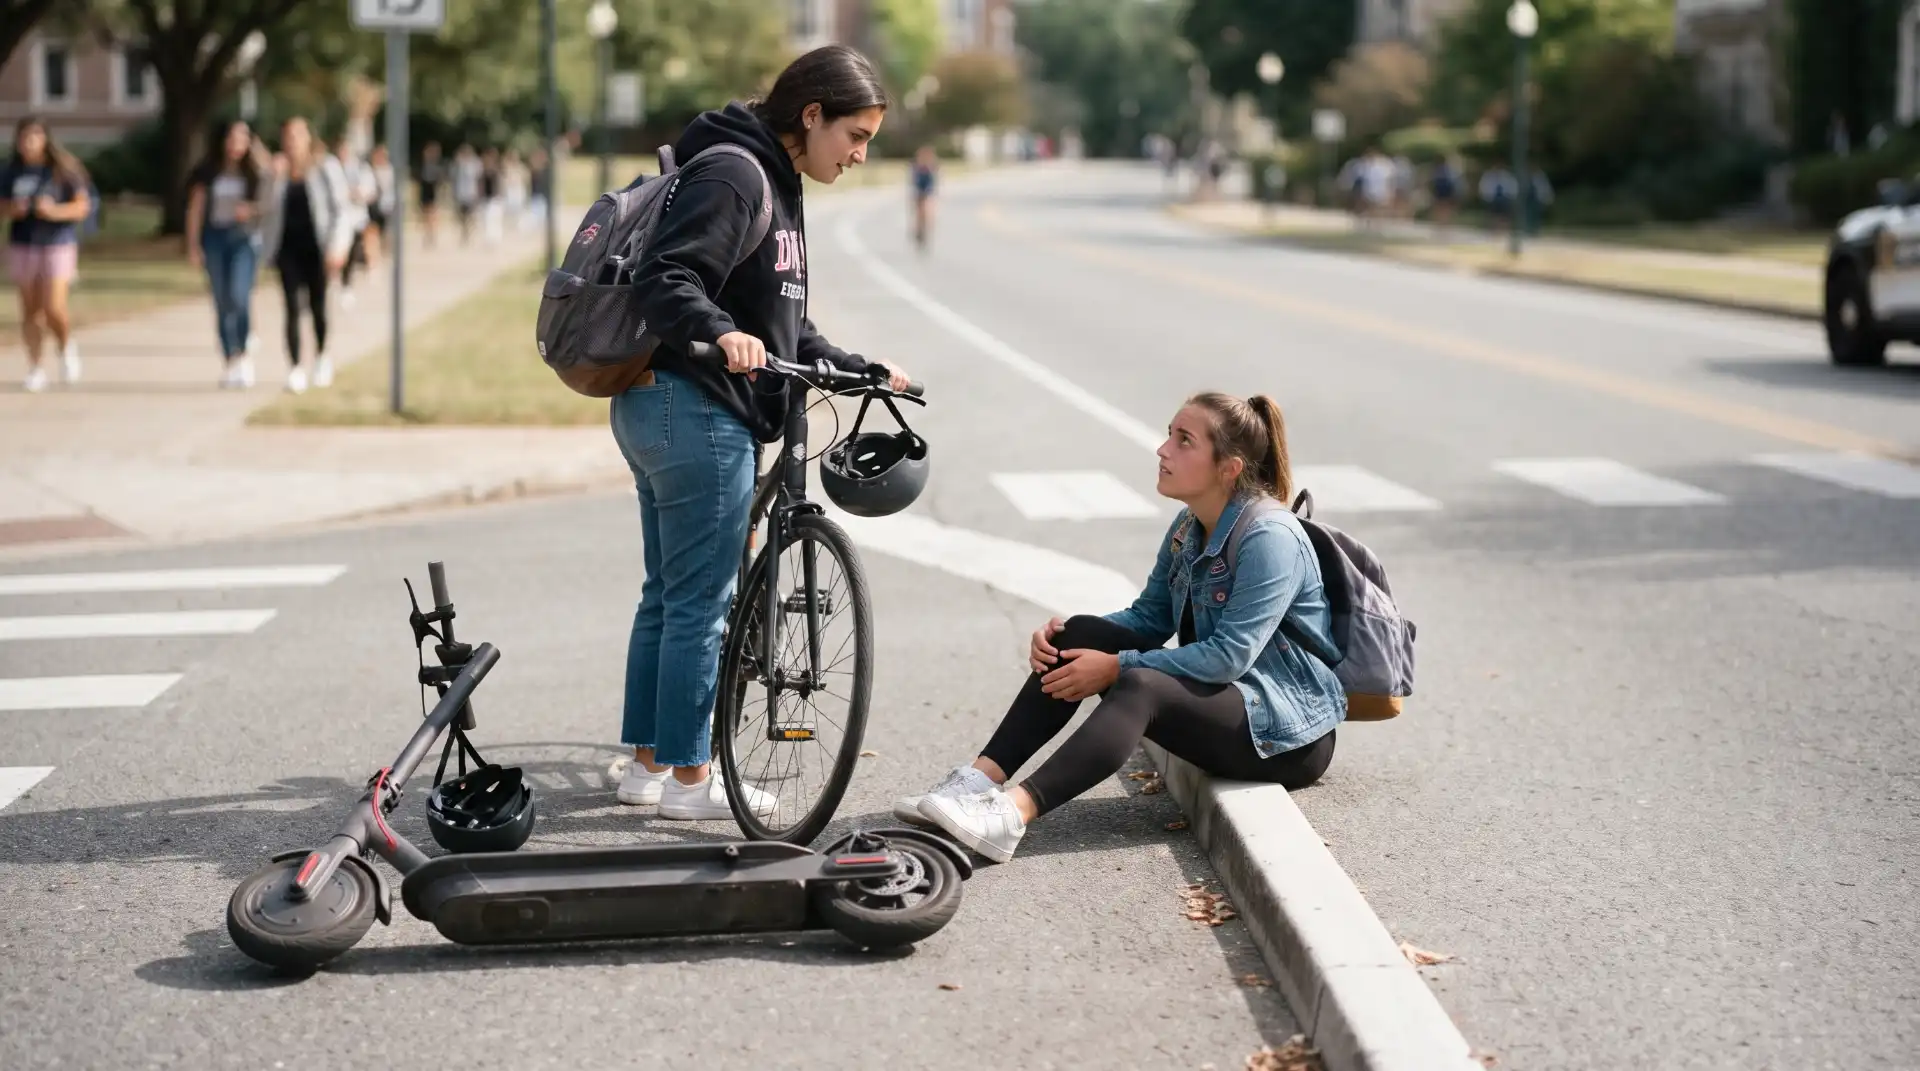
If a collision with an obstacle or intersection appears unavoidable and foot-braking fails to stop you in time, prepare for a controlled dismount. Aim for soft vegetation, wooden park benches, or low bushes rather than solid brick walls, light poles, or moving automobiles. If you must drop the scooter, push the vehicle away from your body sideways and prepare to absorb the impact by tucking your shoulder and rolling to distribute the force evenly across your body.
Comparative Analysis of E-Scooter Braking Systems
Choosing the right electric scooter—or understanding the maintenance demands of your current ride—requires looking closely at how different braking setups compare.
| Brake Type | Maintenance Requirements | All-Weather Performance | Risk Factors for Failure | Average Lifespan |
| Mechanical Disc | High (Cable tension adjustments every 100 miles) | Moderate (Sludge and rain reduce initial bite) | Cable snapping, pad depletion, disc warping | Pads: 300-500 miles; Rotors: 1,500+ miles |
| Hydraulic Disc | Low-Moderate (Fluid bleeds required every 12-18 months) | High (Closed fluid line keeps pressure consistent) | Fluid leakage, system air bubbles, oil contamination | Pads: 500-1,000 miles; Rotors: 2,000+ miles |
| Electronic / E-ABS | Low (Software-based, no mechanical wear parts) | Poor-Moderate (Dependent on tire traction) | BMS overcharge cutoff, controller overheat, electrical short | Lifetime of motor/controller circuit |
| Enclosed Drum | Very Low (Internal springs and shoes shielded from weather) | Very High (Impervious to external mud and water) | Cable stretch, heat buildup during long descents | Brake Shoes: 1,500 – 3,000+ miles |
Pre-Ride Inspection Checklist: The ABC System
Catching mechanical flaws on your kickstand before you head into traffic is far safer than discovering them on a steep hill. Implementing a simple five-second inspection routine before every trip prevents the vast majority of brake failures.
Air (Tire Condition and Pressure)
Brakes only slow down the wheels; tire friction is what actually stops you on the pavement. Check that your pneumatic tires are inflated to the manufacturer’s recommended PSI. Under-inflated tires compress excessively under braking, reducing your contact patch and dramatically increasing stopping distances.
Brakes (Lever Resistance and Pad Thickness)
Squeeze both brake levers firmly while standing beside your electric scooter. The levers should feel firm and catch within the first inch of movement, long before reaching the handlebar grips. If the lever touches the grip easily, your cables are loose or your hydraulic fluid is low. Next, glance down at your caliper to verify that at least one millimeter of friction material remains on the brake pads.
Cables and Electronics
Inspect the visible length of all brake cables and hydraulic lines running down the stem to the wheel hubs. Look for frayed inner wires, cracked outer housing, kinking, or oily fluid residue around hydraulic fittings. Finally, turn the scooter on, engage the throttle briefly while lifting the rear wheel off the ground, and tap the brake lever to confirm that the safety cut-off switch cuts power to the motor instantly.
Long-Term Maintenance and Troubleshooting Guide
Consistent maintenance extends the life of your scooter components and ensures crisp, reliable stopping power on every ride. Here is how to keep your braking hardware in top condition.
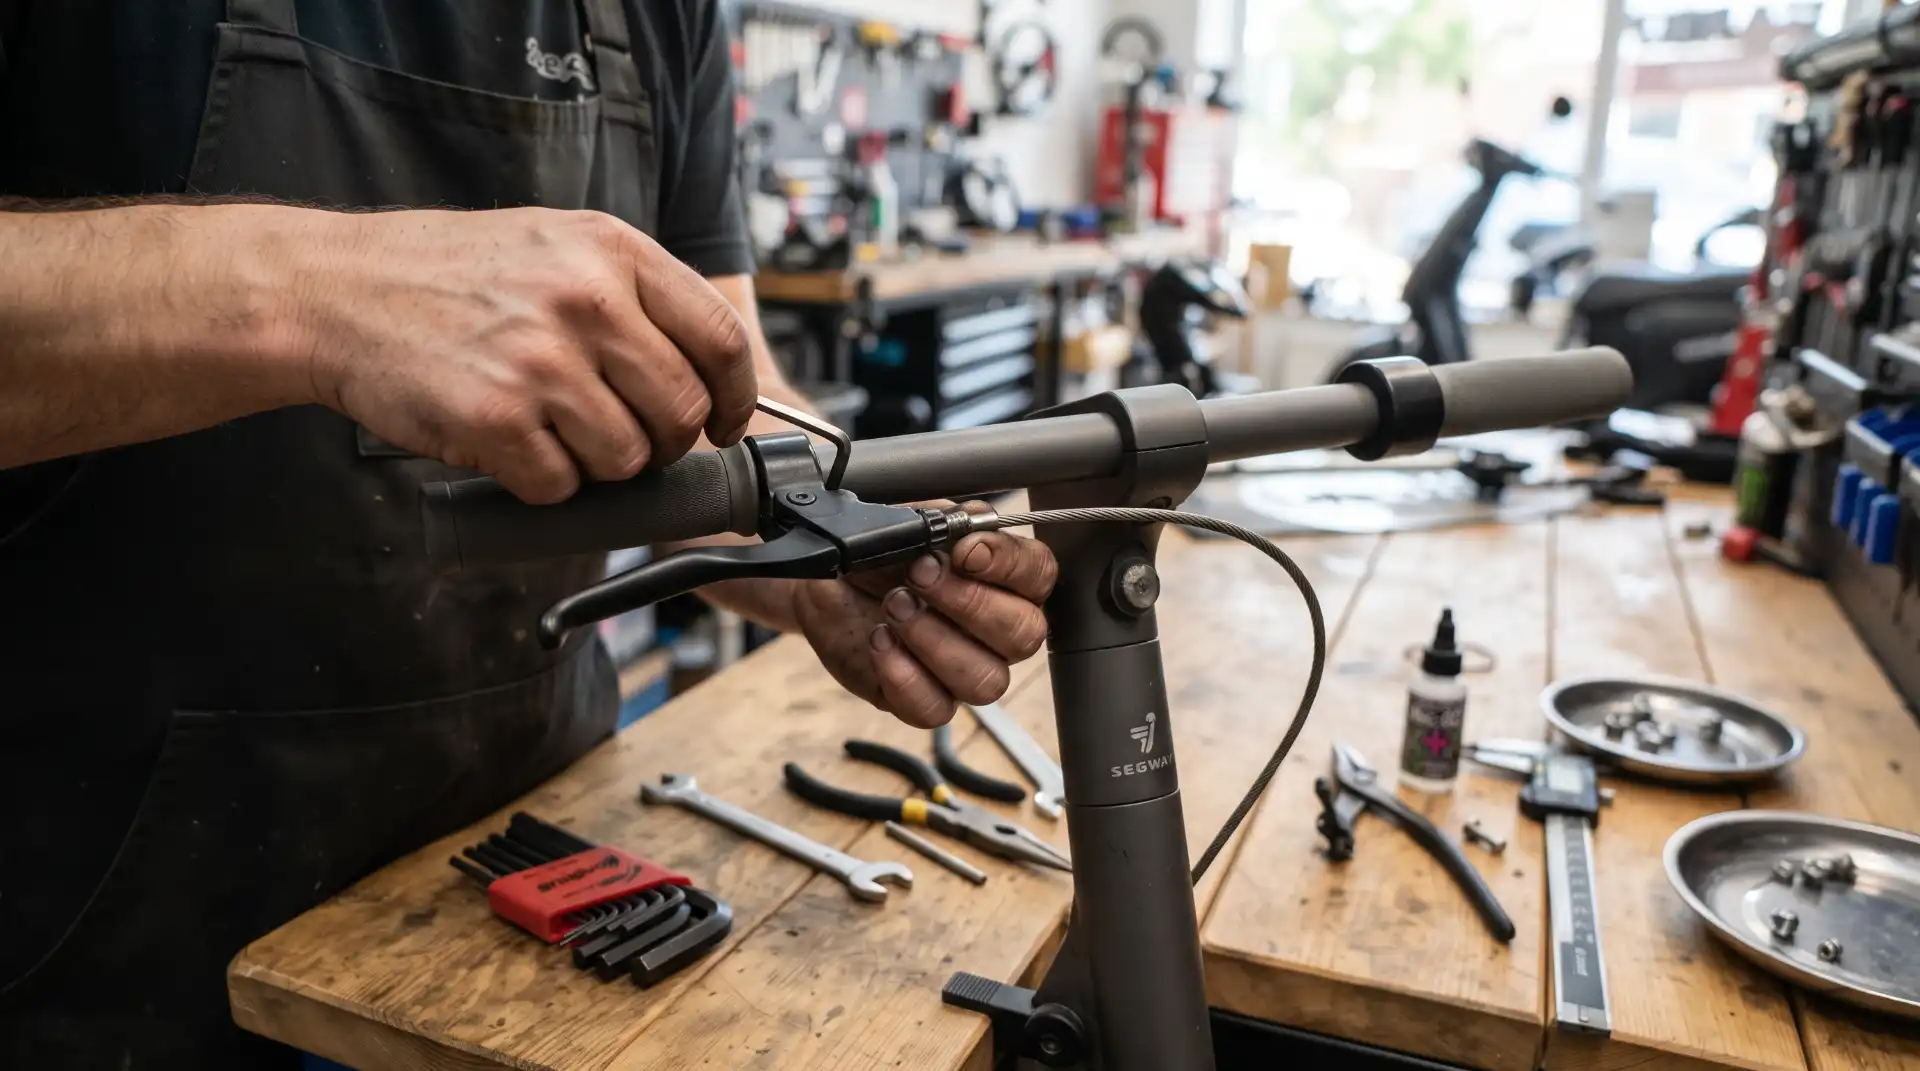
Step 1: Adjusting Mechanical Cable Tension
When mechanical brakes start feeling loose, locate the barrel adjuster where the brake cable enters the handlebar lever or the lower caliper assembly.
-
Unthread the barrel adjuster counterclockwise a few turns to push the outer cable sleeve back, removing minor slack.
-
Lock the outer knurled ring into place to secure the setting.
-
If the lever still feels loose, loosen the cable pinch bolt on the caliper arm with an Allen wrench.
-
Pull the inner steel cable taut using a pair of needle-nose pliers, slide the caliper arm forward slightly, and retighten the pinch bolt firmly.
Step 2: Replacing Worn Brake Pads
When pad material wears thinner than one millimeter, immediate replacement is necessary.
-
Remove the mounting bolts holding the brake caliper to the scooter frame using an Allen key.
-
Slide the caliper body off the metallic rotor.
-
Use needle-nose pliers to remove the retaining cotter pin holding the brake pads inside the caliper slot.
-
Pull out the worn pads alongside their central leaf spring.
-
Clean the inside of the caliper body with isopropyl alcohol to remove brake dust.
-
Insert fresh pads into the spring sandwich, slide them back into the caliper slot, replace the cotter pin, and rebolt the caliper over the rotor.
Step 3: Cleaning Contaminated Rotors
If your brakes squeal loudly or feel slick, your rotors are likely contaminated with road oils or cleaning spray residues.
-
Spray a generous amount of high-purity isopropyl alcohol (ninety percent concentration or higher) directly onto both sides of the disc brake rotor.
-
Wipe the rotor surfaces down thoroughly using a clean, lint-free microfiber towel.
-
Never use automotive engine degreasers, wd-40, or household soaps, as these leave oily residues behind that ruin friction materials.
Step 4: Aligning Calipers to Eliminate Rubbing
If you hear a rhythmic rubbing noise while coasting without applying the brakes, your caliper is misaligned with the disc rotor.
-
Slightly loosen the two main mounting bolts securing the caliper to the frame so it can wiggle side to side.
-
Squeeze the corresponding brake lever tightly on the handlebars and hold it locked down. This clamps the caliper down squarely onto the rotor, centering it automatically.
-
While continuing to hold the lever locked down, alternate tightening the two mounting bolts in small increments until snug.
-
Release the lever and spin the wheel to ensure it turns freely without touching the brake pads.
For broader national standards on light electric vehicle manufacturing and safety guidelines, you can review detailed consumer safety framework metrics through the U.S. Consumer Product Safety Commission regulatory portal.
Rider Safety Behavior and Defensive Riding Strategies
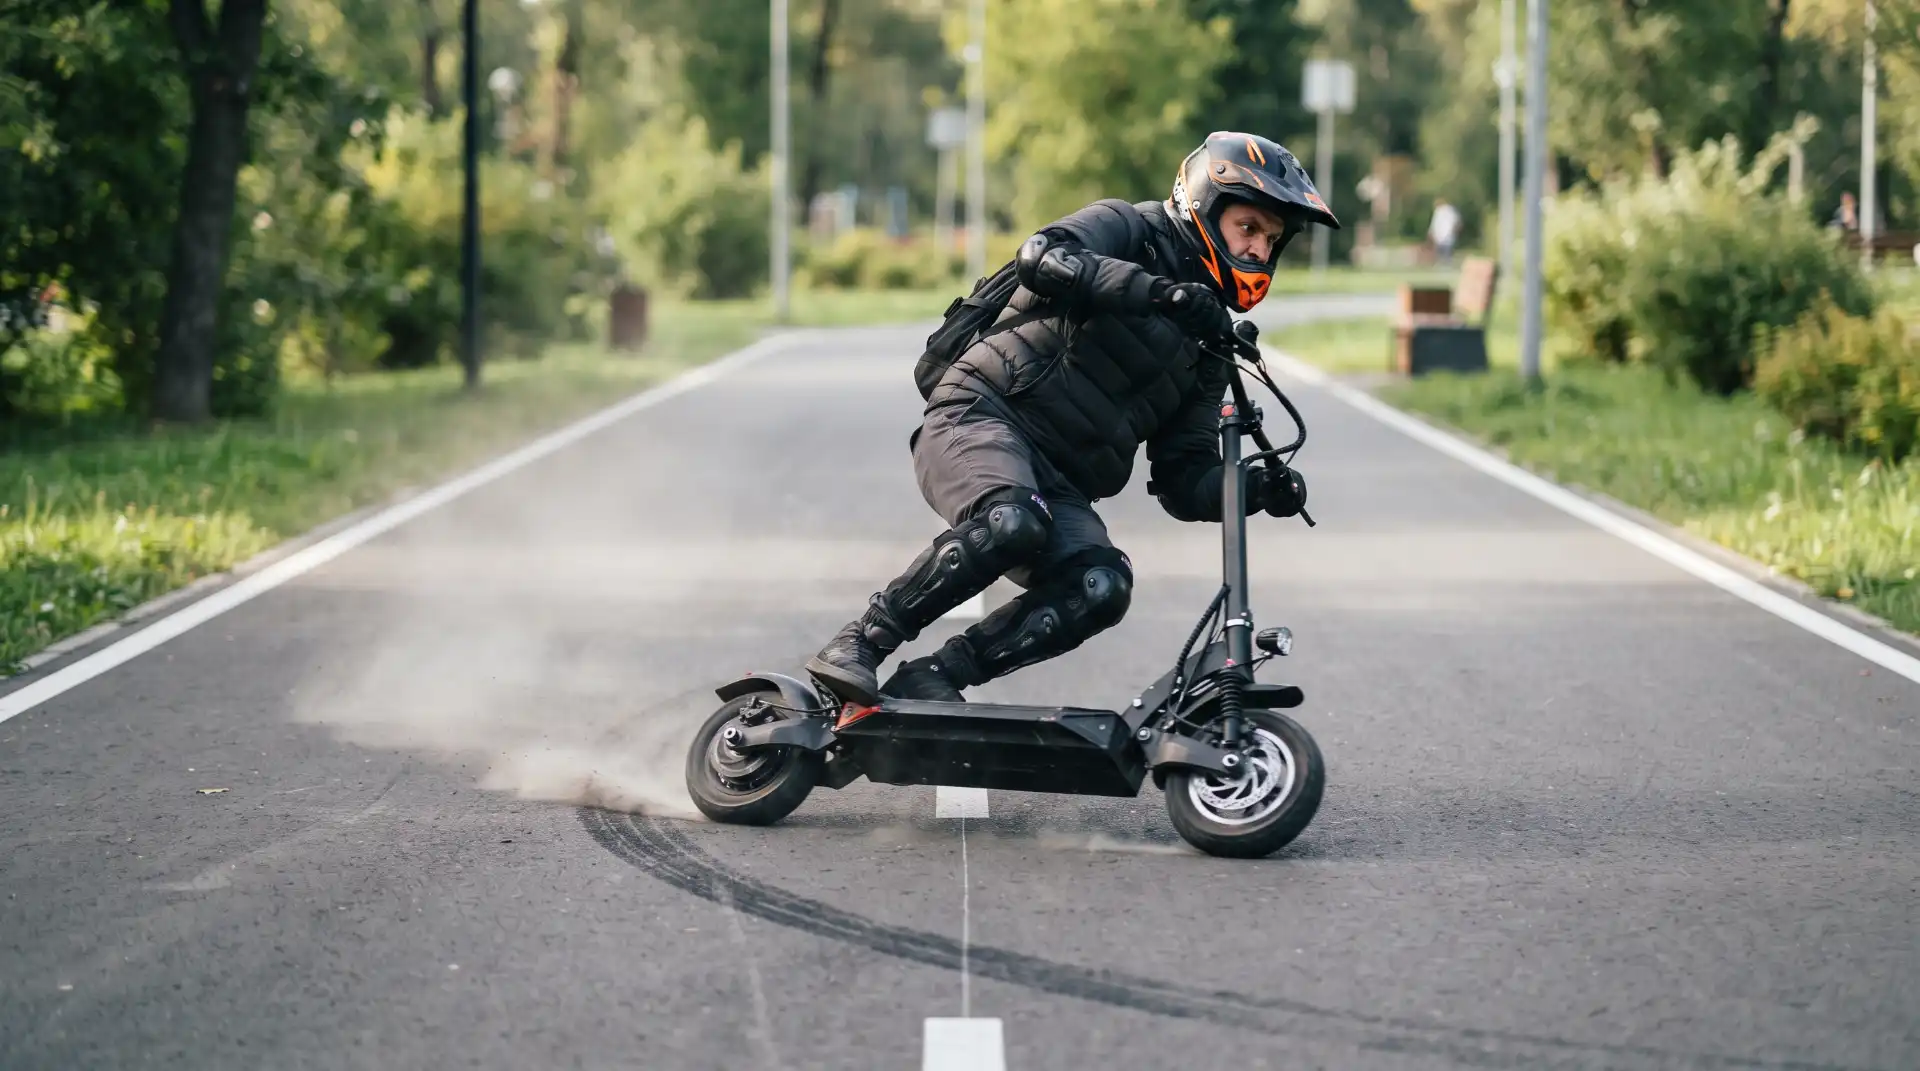
Technical maintenance accounts for only half of the safety equation; the rest comes down to rider habits and road awareness. Adopting defensive riding strategies gives you the time and space needed to handle unexpected mechanical failures safely.
Maintain Proper Following Distances
Micro-mobility vehicles stop much slower than passenger cars due to their small wheel diameters and short wheelbases. At top speed, a commuter electric scooter requires roughly fifteen to twenty-five feet of clear road to come to a complete stop under ideal conditions. Always maintain a three- to four-second buffer zone between yourself and the vehicle ahead of you, doubling that distance during rainy weather.
Ride at Speeds Matched to Your Environment
Navigating crowded city sidewalks, pedestrian corridors, and narrow bike lanes requires lower speeds. Cruising at maximum speed leaves virtually zero room for error if a pedestrian steps out unexpectedly or an electronic brake fails. Reserve top speeds for clear, smooth bike lanes with open sightlines.
Adapt to Wet and Slippery Road Conditions
Rain creates a slick layer on urban roads by bringing engine oils and road grime to the asphalt surface. Wet conditions also reduce the friction between brake pads and rotors while lowering tire grip on the road. Avoid sharp cornering maneuvers while braking on wet pavement, and apply gentle, pulsing pressure to both brake levers to clear water films off the rotors before you need full stopping power.
Wear Safety Gear
Never ride an electric scooter without an approved helmet. In the event of a total brake failure where a dismount or fall becomes unavoidable, a CPSC-certified bicycle helmet or NTA-8776 speed-pedelec helmet provides crucial protection against severe head injuries. Wearing palm-slider gloves, long pants, and durable closed-toe shoes will also protect your hands and skin from road rash if you need to foot-brake or drop the vehicle.
Final Thoughts: Prioritizing Safety Every Ride
E-scooter brake failure is a serious mechanical risk, but it doesn’t have to end in an accident. By understanding how your scooter’s mechanical and electronic systems work together, conducting quick pre-ride inspections, maintaining your hardware regularly, and mastering emergency stopping maneuvers, you can handle unexpected failures with confidence.
Take time this week to inspect your brake pads, test your lever tension, and practice low-speed emergency stops in a quiet, empty parking lot. Building muscle memory and keeping your equipment in top shape ensures that every commute across town remains fast, enjoyable, and safe.